
Groovlets
This short article shows how to setup Tomcat and Groovy to get the first Groovlet up and running in about 10 minutes.
Some notes ...
Further, all examples (when it comes to the command line) are based on Linux. If you use Windows or some other environment, you'll have to adapt.
The base directory for all examples is "/home/yourname/development/", your base path will most certainly be another, so please adjust the path accordingly.
Requirements
Groovy requires Java, so you need to have version 1.4 or greater available.
If you are not sure, please refer to this article (see: "Setting up your Java environment") at groovy.codehaus.org:
» Groovy Tutorial 1 - Getting started
Download the required files
Besides Java, we need the Apache Tomcat servlet container and Groovy, of course.
You can download the required files at:
You should download the latest stable releases.
Setting up the Environment
First of all we need to install the Tomcat servlet container. Unzip it to the desired location, for example
/home/yourname/development/apache-tomcat-6.0.20
Then we have to unzip the groovy package, maybe to
/home/yourname/development/groovy-1.7.0
The next step is to copy the required libraries from the Groovy lib folder to the Tomcat lib folder. To do so, copy all files (except the jsp-api-2.0.jar file) from
/home/yourname/development/groovy-1.7.0/lib
to
/home/yourname/development/apache-tomcat-6.0.20/lib
The next step is to tell Tomcat that all files with the extension ".groovy" should be handled by the Groovy servlet. To do so, paste the following configuration in the web.xml file located in the directory:
/home/yourname/development/apache-tomcat-6.0.20/webapps/ROOT/WEB-INF
The configuration:
<servlet>
	<servlet-name>Groovy</servlet-name>
	<servlet-class>groovy.servlet.GroovyServlet</servlet-class>
</servlet>

<servlet-mapping>
	<servlet-name>Groovy</servlet-name>
	<url-pattern>*.groovy</url-pattern>
</servlet-mapping>
So, if you had a fresh install, your web.xml should look like:
<web-app xmlns="http://java.sun.com/xml/ns/javaee"
   xmlns:xsi="http://www.w3.org/2001/XMLSchema-instance"
   xsi:schemaLocation="http://java.sun.com/xml/ns/javaee http://java.sun.com/xml/ns/javaee/web-app_2_5.xsd"
   version="2.5">

  <display-name>Welcome to Tomcat</display-name>
  <description>
     Welcome to Tomcat
  </description>

  <servlet>
    <servlet-name>Groovy</servlet-name>
      <servlet-class>groovy.servlet.GroovyServlet</servlet-class>
  </servlet>

  <servlet-mapping>
    <servlet-name>Groovy</servlet-name>
      <url-pattern>*.groovy</url-pattern>
  </servlet-mapping>

</web-app>
That is all we need to do. Now let's write a simple groovlet ...
A simple Groovlet
Open the text editor of your choice and paste in the following source:
import java.util.Date
import groovy.xml.MarkupBuilder

if( session == null ){ session = request.getSession(true) }

if( session.counter == null ) {
	session.counter= 1
}

String myTitle = "My Hello World Example"

html.html {
	head{
      title(myTitle)
    }
    body{
      [	h1("Hello, world!"),
      	p("This is Groovy on Tomcat."),
      	p("It is now ${new Date()} ..."),
      	p("This is your visit number $session.counter . Feel free to reload this page.")]
    }
  }

session.counter= session.counter + 1
Save this in the ROOT directory of your Tomcat server as:
/home/yourname/development/apache-tomcat-6.0.20/webapps/ROOT/test.groovy
Startup Tomcat
Now we need to startup Tomcat to view the result. Just open a console and type:
/home/yourname/development/apache-tomcat-6.0.20/bin/startup.sh
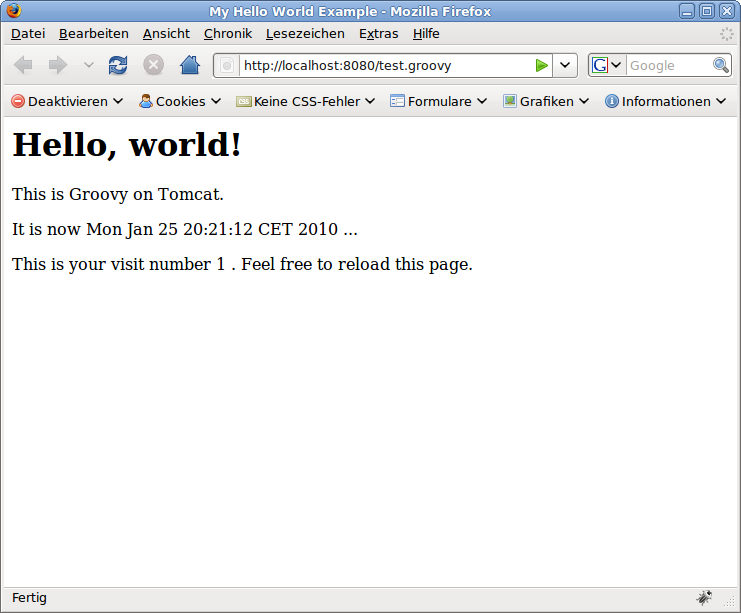
If you have not changed Tomcats configuration, you should see the result by browsing to:
http://localhost:8080/test.groovy
It should look like:
Further Reading
I recommend the following resources:
- Groovy: Getting started (codehaus.org)
- Groovy: User Guide (codehaus.org)
- Groovy: Advanced Usage Guide (codehaus.org)
But what is Groovy without Grails ... ;-)
klg